This project wasn´t as messy as I suspected it would be. It took a few days to complete because of drying-time, but other than that the kids and I had fun with it.
As usual, I wasn´t very good at following instructions, but I think my alterations worked out for the best. It´s my first bat, but not my first piñata. Here are my tips:
You will need:
newspaper
2 balloons
white flour
white arts-n-crafts glue
cord or strong string
cardboard box
fast drying technical glue (glue-gun, if you have it)
black and white paint
masking tape
scissors
2 bowls
plastic or paper to cover work space
1) cover the floor with plastic or paper (about 1m sq)!!!!!
2) tear newspaper into long strips.
3) blow up two balloons: 1 big (for the body) and 1 small (for the head) - see pics.
4) mix 400gr floor with water, until you get a drinking-yogourt consistency. Add 1 tbsp of white arts-n-crafts glue.
5) place two small cereal bowls on your plastic/paper work space. These will be used to support your balloons while you work.
6) Now you´re ready to build :-)
7) Place the balloons on the bowls, with their ties down. Dip a strip of newspaper in your flour-water mix, gently run your fingers down the strip to get rid of excess (you want it wet, not dripping). See pic below.

8) place strip on the balloon. Rub fingers along it so it lies smoothly. Repeat until the balloons are covered - but leave a 2 cm sq gap around the balloon tie. See pic.

9) Let the balloons sit on the bowls, rotating (so they don´t stick) every 20-30 minutes, until completely dry.
10) Repeat steps 7, 8 and 9.
11) Cut 4 pieces of cord, each one 2.5 meters in length. Gently tie 3 pieces, as demonstrated in the picture, around the mid-section of the large balloon. Tie the fourth piece around the balloon, back to front (this fourth piece will later be used to tie the head onto the body). Secure with a few small pieces of masking tape.
12) Cut 1 more piece of cord, 1 meter long. Tie around the small balloon, as demonstrated in the picture. Secure with masking tape.

13) Add one more layer of newspaper (repeat steps 7, 8 and 9). Move the cords around now and then so they don´t stick to the balloons. Let dry completely - rotating now and then.
14) Cut the sides out of your cardboard box. Draw two bat wings. Cut them out. Use fast drying technical glue (best with glue-gun, if you have it) to stick the wings to the sides of the large balloon, as demonstrated in the pictures below.


15) Repeat steps 7, 8 and 9. Cover wings and balloon completely, leaving an opening around the balloon tie.

16) Make your bat ears (I used the corners in an egg carton). Use fast drying technical glue to glue them to your bat head. Keep in mind the direction of the cords: the head will be tied to the body with these.
17) Paint one side of the body and the head black. When dry, rotate and paint the other side. We sprinkled sparkles on the wet paint, which had a nice effect. Let dry completely before next steps.
18) Paint the bat´s face with light colored paints.


19) Pop the balloon inside the bat´s body and remove.
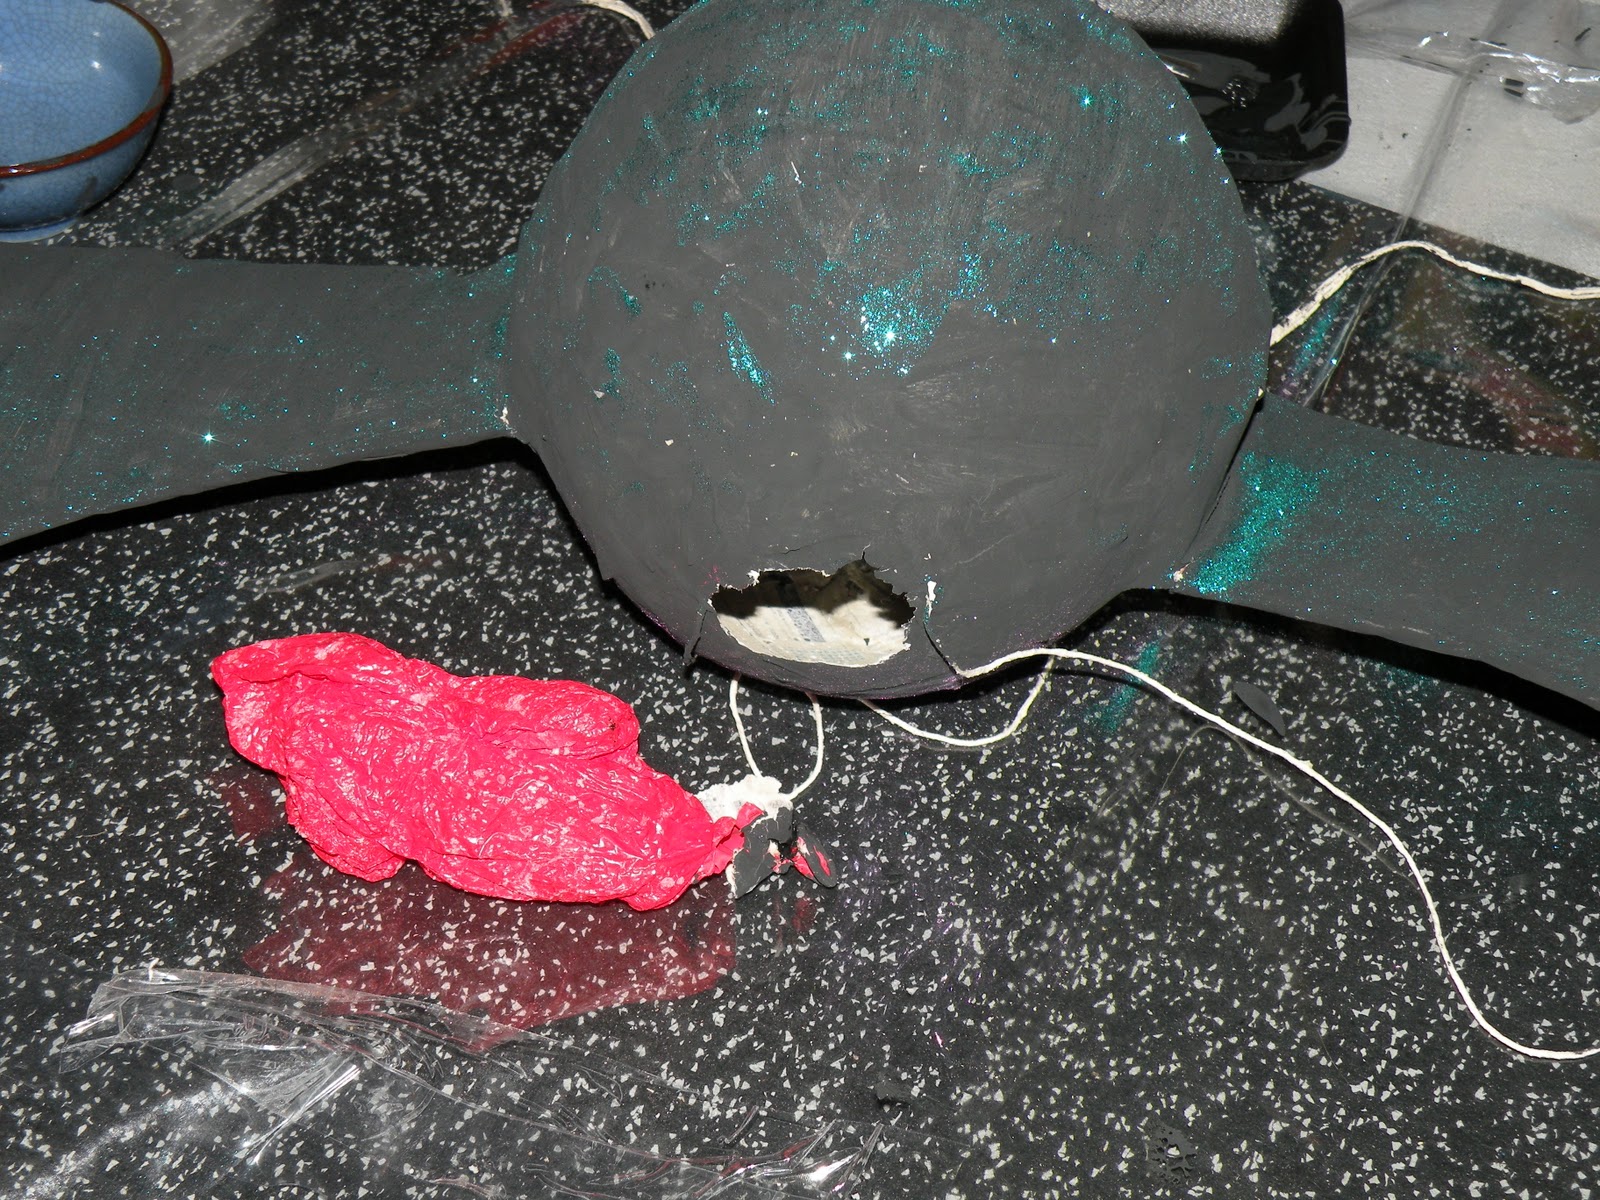
20) Fill your piñata with sweets etc. Tie the head and the body together. If needed, use your fast drying technical glue to secure it in place.

Hope these tips helped! Use the comments box if you have any questions. Can also check my previous post "Oppskrift for å lage en FLAGGERMUS PIÑATA" for more ideas (in Norwegian).
Have fun :-D
THANKS FOR THE TIPS!!! WHAT A NICE Piñata!!! I WISH I HAD MORE TIME FOR MAKING ONE FOR RALPHS BIRTHDAY :-) ...
ReplyDeleteThanks Katja! The bat does take a little time, but you can also make a simpler one.For example, instead of a bat, just one balloon and hang interesting frills off it. I´m making a cat for Zarya which takes less time because their are no wings; only two balloons (head and body) - for the legs I´ll use black thick construction paper and make folds so they look scrawny and wobbly.
ReplyDelete